|
St. Paul MN 55112 |
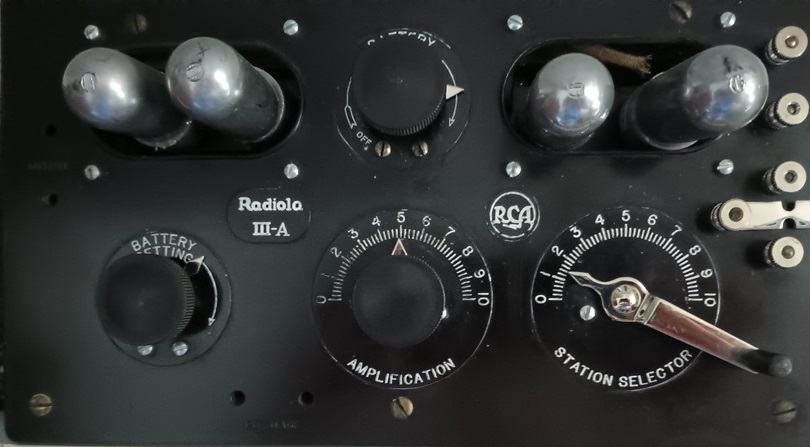
My Radiola IIIA is now complete and working after a lot of rework.
 This picture shows what the radio looked like when I picked it up.
The original WD11
tubes are very fragile and expensive. Shown here are
replacements built from a kit. For more information
click this link: Or order kits available here: The WD11 kit
provides performance identical to the original WD11
including full volume control and power off in the full
counter-clockwise position of the "Battery Setting"
control.
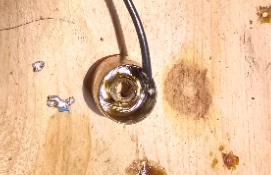
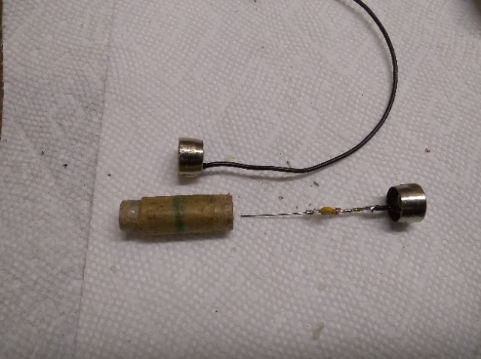
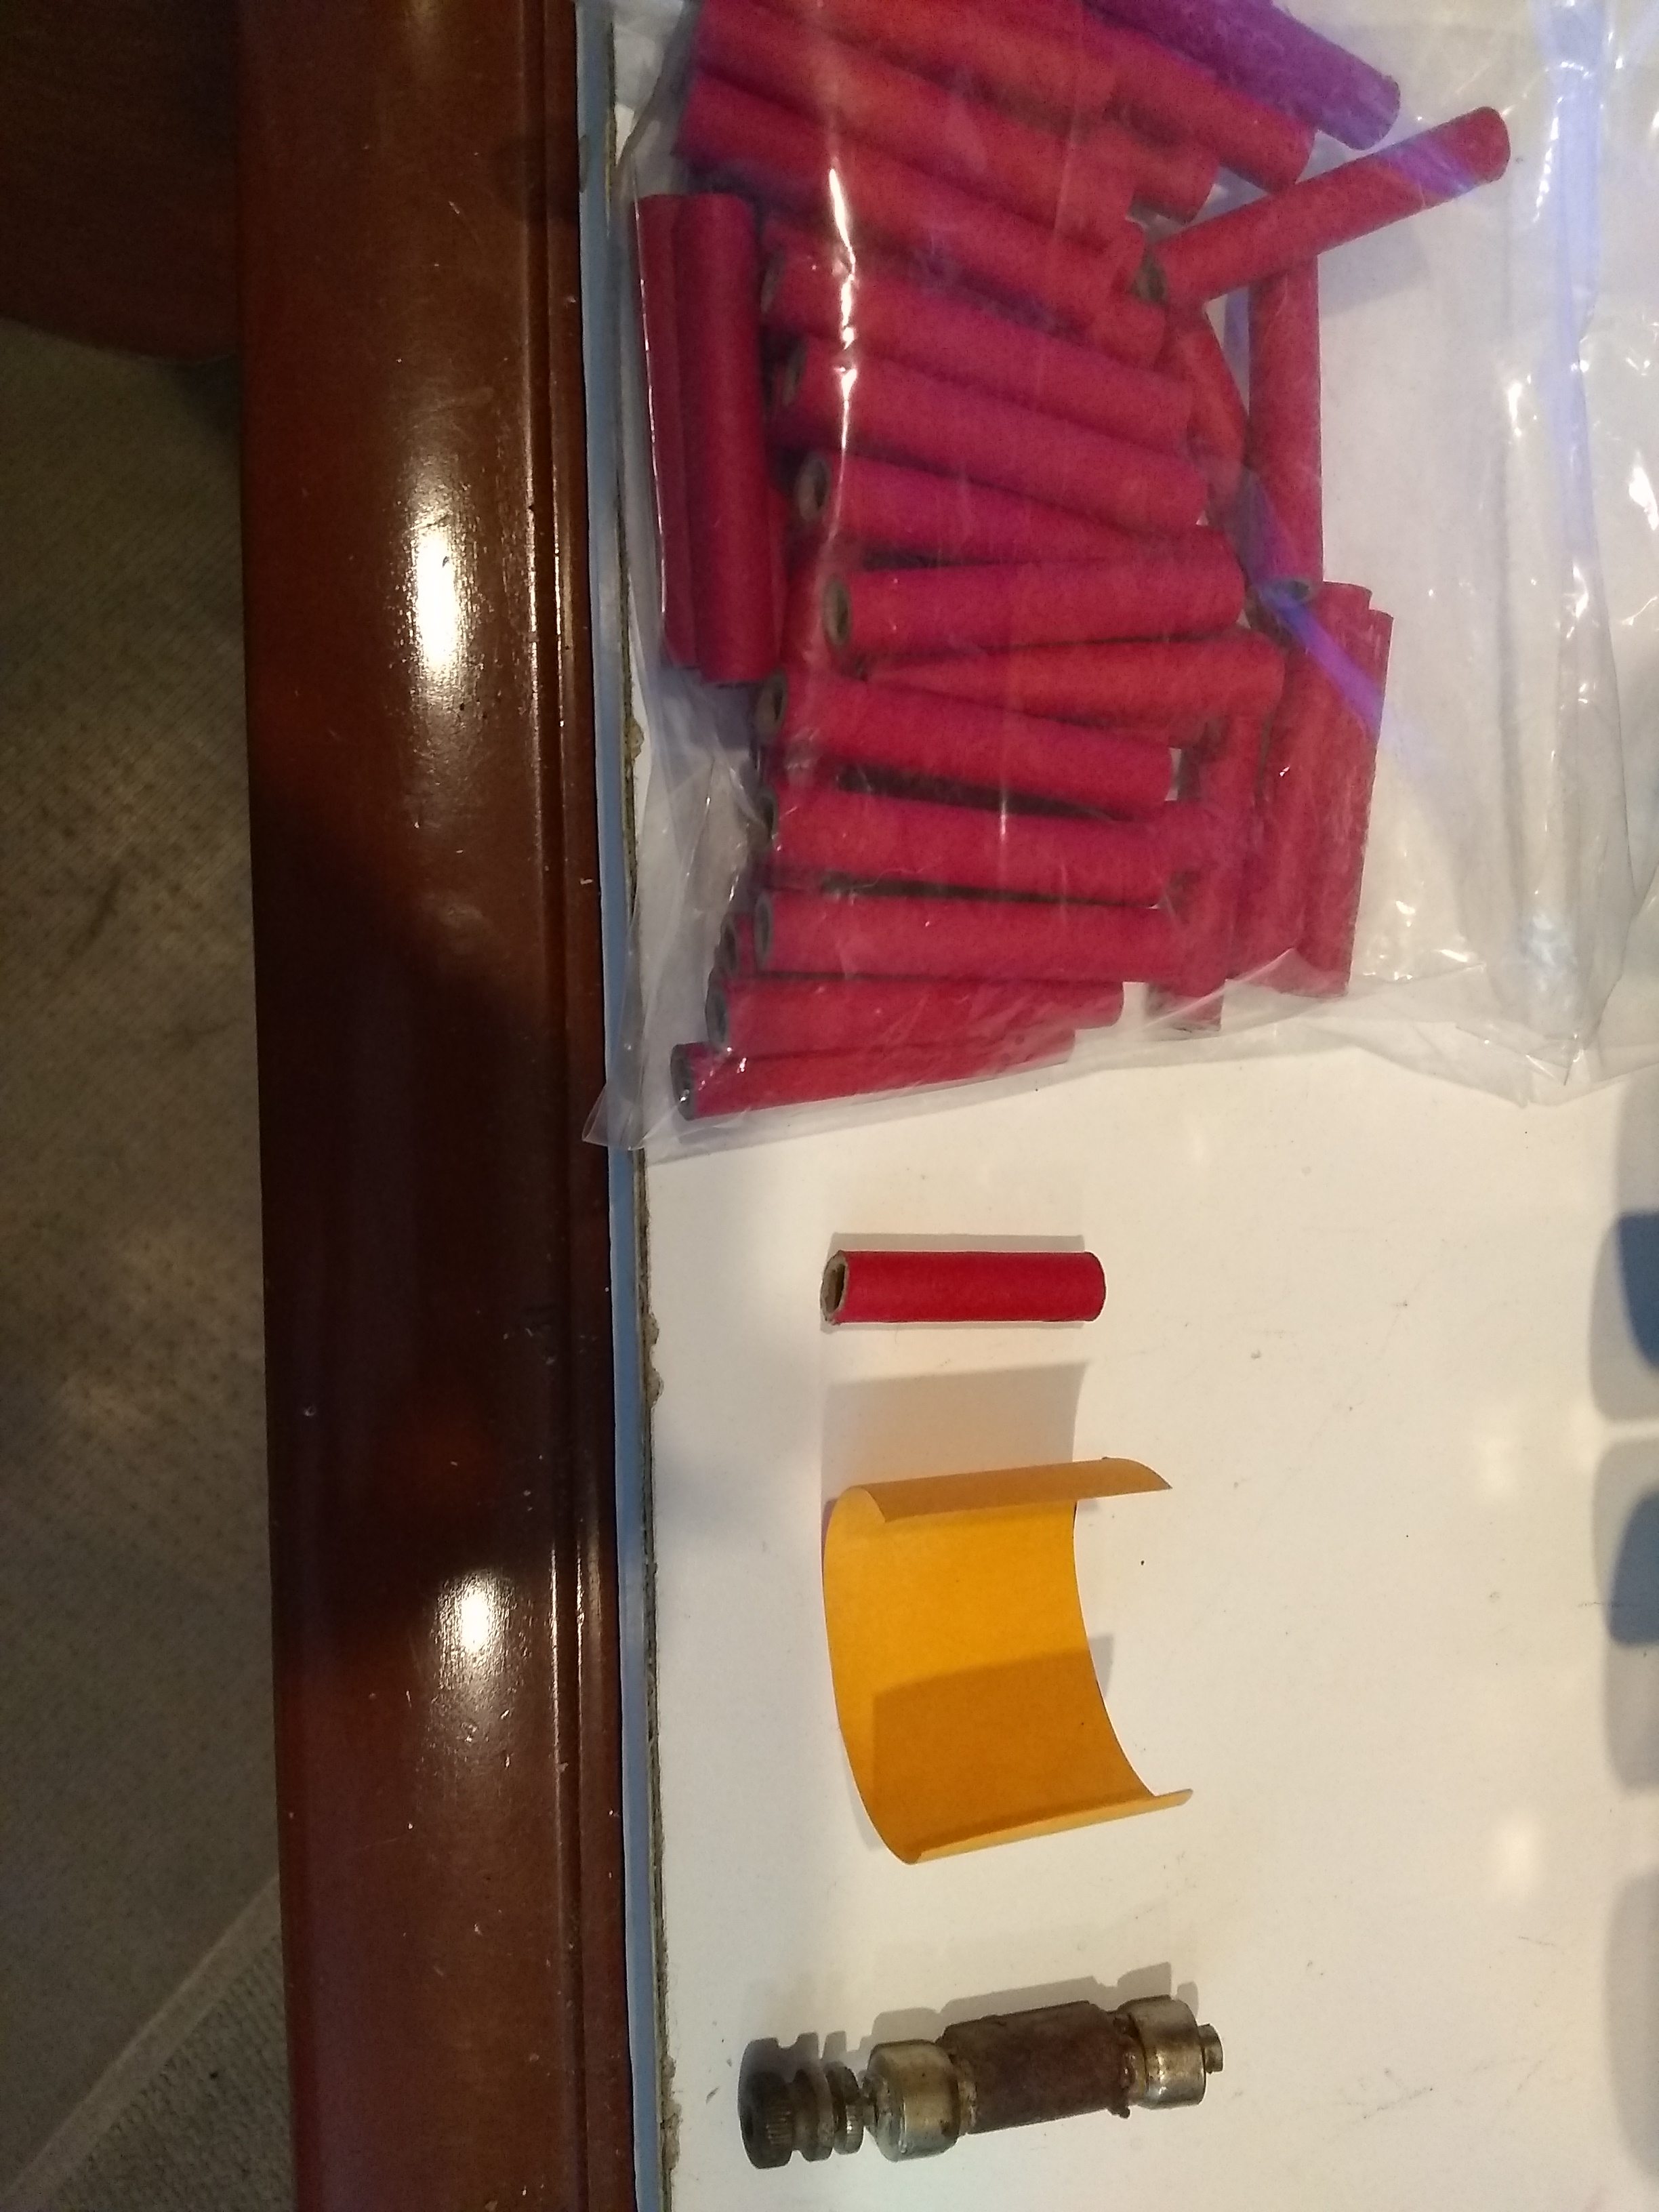
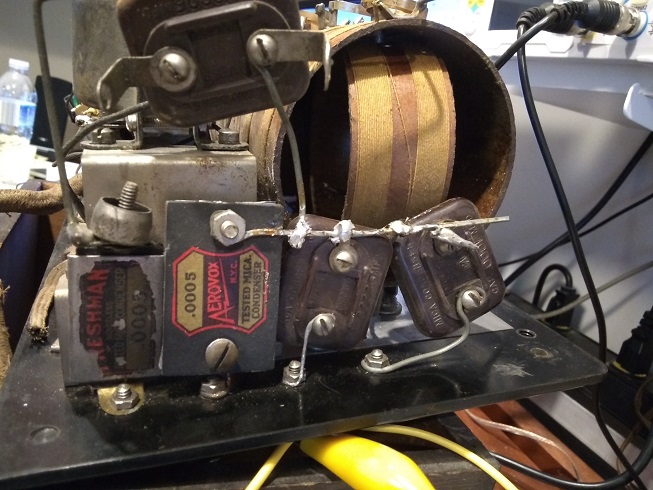 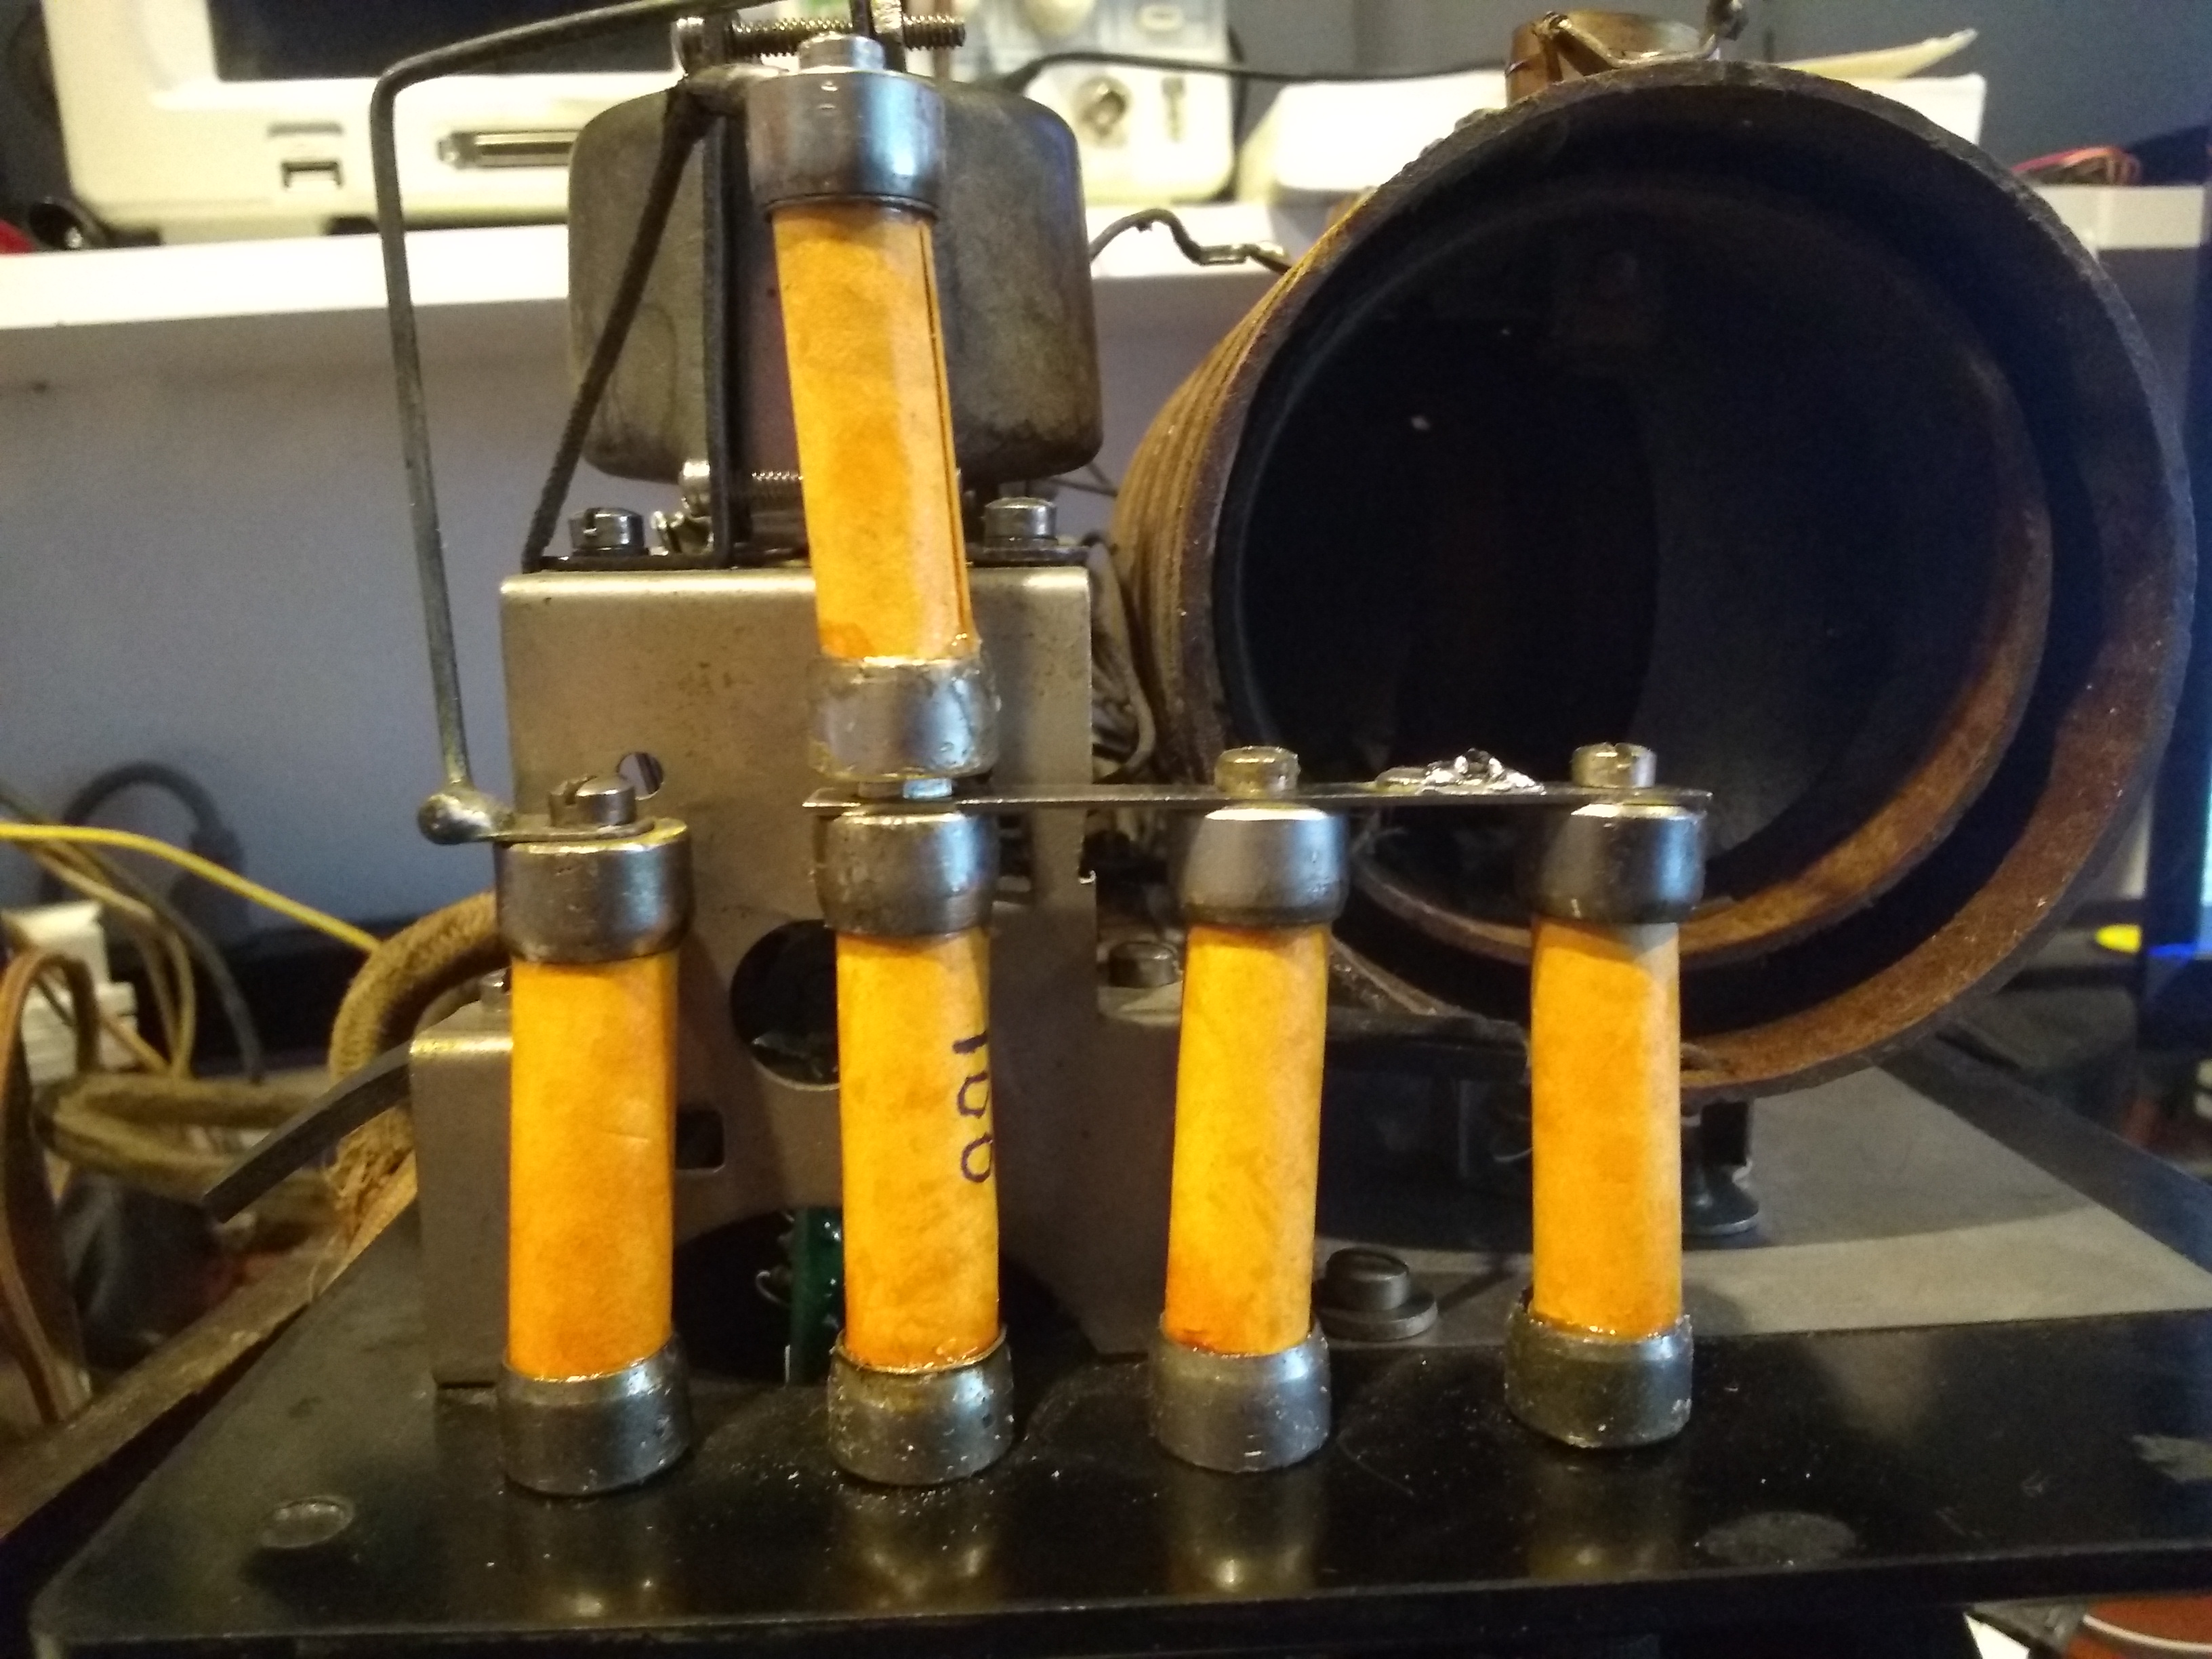 The picture on the left shows the capacitors as received. The picture on the right shows the rebuilt capacitors. These
pictures show the steps in rebuilding the capacitors.
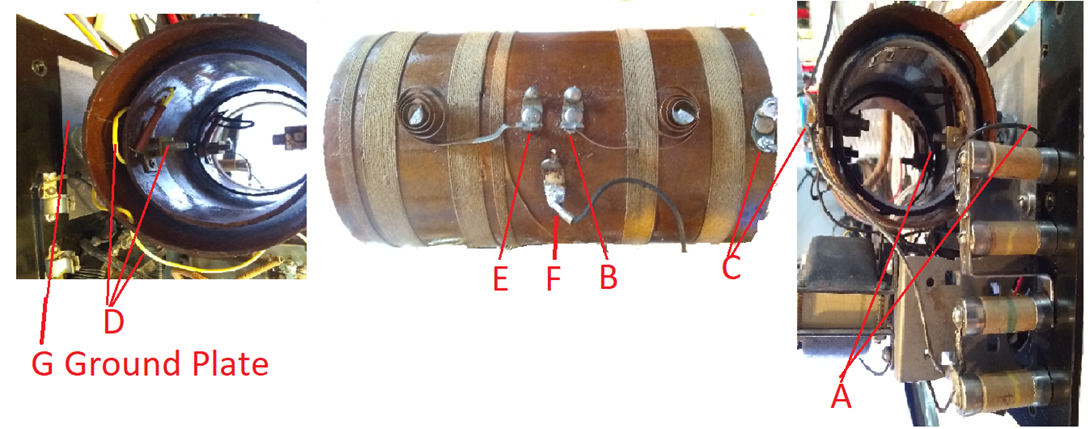
Radiola IIIASchematic Radiola III and IIIA coil assemblies are identical.
This picture shows my Radiola III coil assembly with contact
points e and keyed to the points identified on the Radiola III schematic. Refer to that tab for
details.
All
three interstage transformer had failed.
I replaced them with new transformer cores mounted
within the original shells.
The battery cable was in bad shape. I purchased a 5 conductor cable with white rayon covering from Wired4Signs. Initially I tried RIT dye to make the cable brown. That did not work out as i hoped. Then I used stain as shown in the pictures and that worked well. Possibly a slightly lighter shade would be closer to the original but this result is very acceptable to me.
    
|